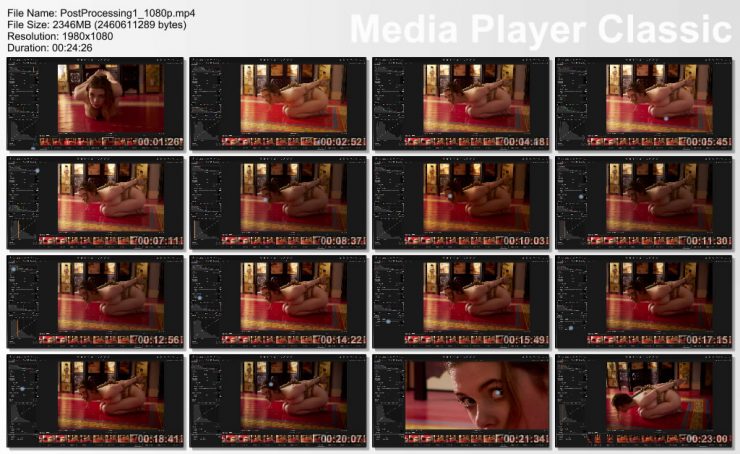
Hi Everyone. We recently asked what sort of technical tutorials people would like to see and the top pick of the bunch was this- post processing your photos to bring the best out of them.
In this tutorial I take you through how to go from the out-of-the-camera or default-settings version to a fine-tuned version which brings out the image you had in your head at shoot time. This is a simple example- what the camera settings produced (JPEGs) or the default settings I obtained in Capture One were pretty close to what I’d imagined when we shot. It’s best to learn to walk before you can run- get experienced with making small and subtle changes, and see what they do. This will give you confidence to start experimenting with wild and whacky effects later on.
A few notes:
I used Capture One Pro. But the principles hold true whichever processing software you use. Most people use Lightroom, and that’s a good place to start if you’re not actually trying to streamline your productivity for mass production. The image processing software that Canon etc. provide will do as a start, or DXO, or one of many other possibilities. The key point is to choose a RAW processing suite… not an image editor like Photoshop. If you do use photoshop, most of what I’m talking about here happens in Adobe Camera Raw, before you even open the image in Photoshop proper. Yes, you should shoot RAW. In fact unless you are a photo-journalist on a ten-minute turnaround, you should ALWAYS shoot RAW (even if you shoot JPEGs for ease). RAW is storing the clean data from the camera sensor with as little processing done as possible. If you got anything a bit wrong on set, having access to the maximum data in post is mandatory. But even if you just want to fine tune your images, starting from RAW is the only way to go.
The other parenthetical thing I should say is that you may be like Ariel and look at this video with absolute incomprehension because I keep doing things to the image that make no difference. Not everyone can see the subtle effects I’m talking about in this video- and if you can’t, it’ll seem like we are talking about the Emperor’s New Clothes. I know some bondage producers who are almost completely unable to see the effects of colour shifts, for example. I happen to be fairly sensitive to it (which may be why I’m a professional photographer and cinematographer). If you can’t see the differences, my advice would be not to worry about it. I make a fuss about it because I can see it and I’m a bit anal that way. If you can’t, I suggest using auto enhance on each shot and storing the JPEG from camera. Compare the two. If you like one more than the other, go with that. If you still can’t see a difference, you might as well shoot JPEG and just concentrate on the aspects of shooting you CAN see- like how the bondage is, how the shot is composed, what it is of, and so on 🙂

